
 As I delve deeper into this brewing kombucha experiment, I become more fascinated. Watching the action happen day by day, something actually accelerated here in sunny Acapulco, has kept me interested and inspired as this honestly weird fizzy drink has developed in the dark corner of my pantry. Not knowing what exactly to expect, I took pictures every time I noticed a visual change to share.
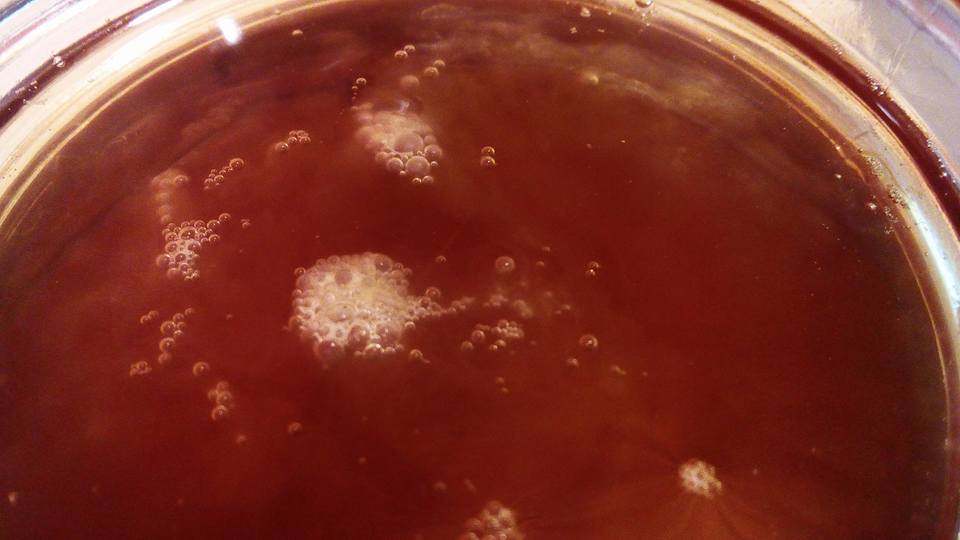
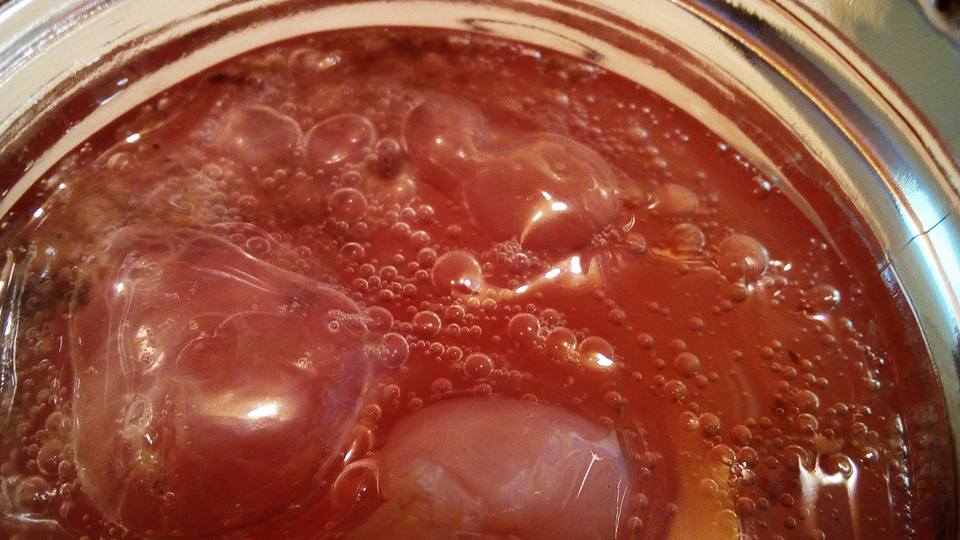
The first day nothing really looked different, other than there were a good amount of bubbles as the bacteria and yeast got to work on the sugar and tannin on the tea. As my scoby was really recently active, it’s already pretty effervescent, that is fizzy naturally. Something I’ve found is that many have a hard time getting any fizz, although this is due to many factors like temperature and how healthy the scoby is.
From what I can tell from my research, the yeasts and bacteria work together in the tea to survive, produce that characteristic scoby mat and thrive. These aren’t just any yeasts and bacteria however, which is part of what makes kombucha an amazing thing.
Bacteria:
Bacterium xylinum
Bacterium gluconium
Acatovacter hetogenum
Pichia fermentons
Yeasts:
Schizoaccha rumyaespumbe
Turulaspora delbrueckii
Zygosaccharomyces baillai
Apparently, kombucha without most of these components is not kombucha at all, but something else. I’ve found there are strains of scoby and things similar that people brew out there as well. Not all contain both fungi and bacteria, which actually makes them something else even if they too are beneficial. Some require specific tea and sweetener to thrive, like jun which needs green tea and honey. From what I can tell, my scoby is pretty average in it’s behavior.
 Get a Kombucha Brewing Kit with Organic Kombucha Scoby on Amazon!
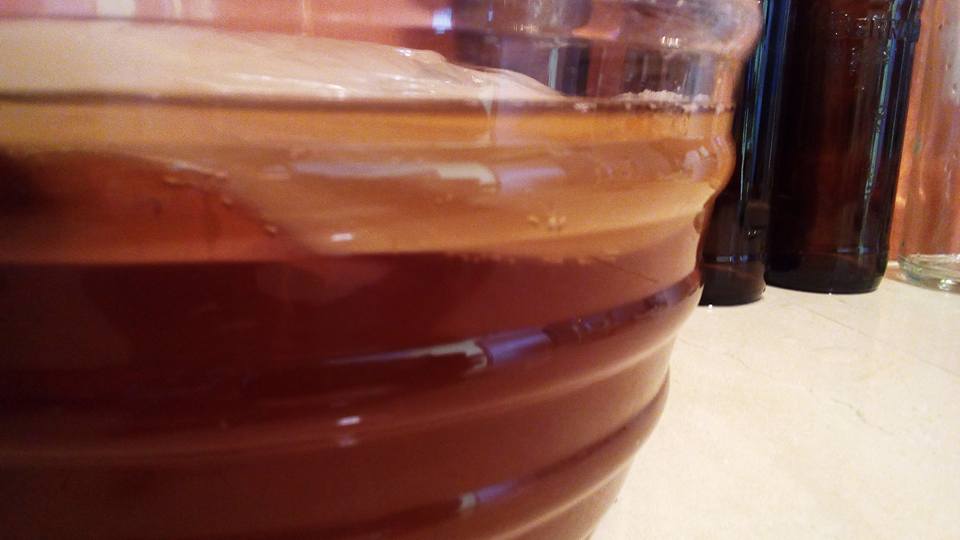
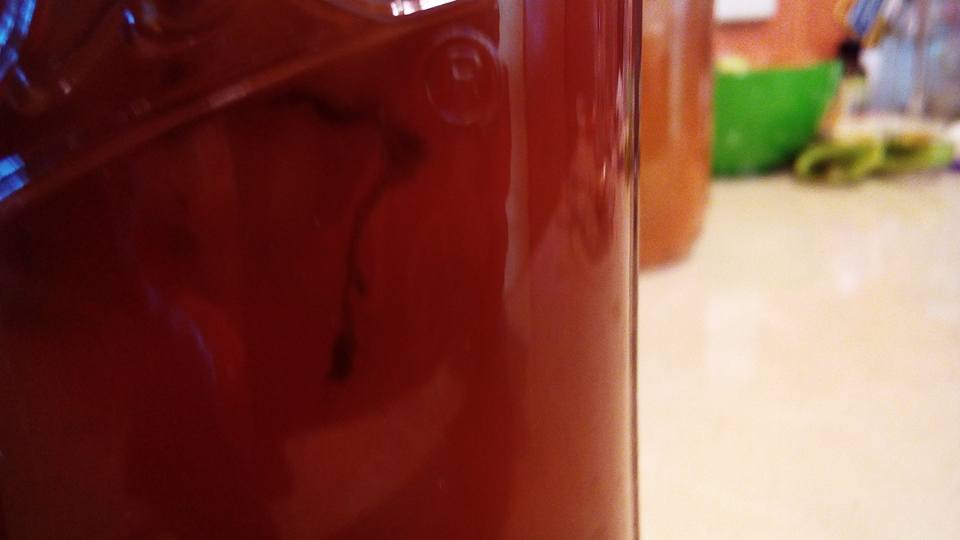
I really only noticed anything visible on the second day as far as the big jar was concerned. By my calculations, I had about a half gallon of kombucha in the largest vessel I used. You can see large bubbles and a slight film in the photo above. The film that forms is rumored to be a protective coating for the tea, which makes sense as it spans from edge to edge of the vessel which houses the tea. This isn’t something proven by science, so it could just be coincidence. Something to consider is much about kombucha isn’t really researched or backed by science as we know it. This is why I approach this with as much caution as I do; we just don’t know that much about it yet.
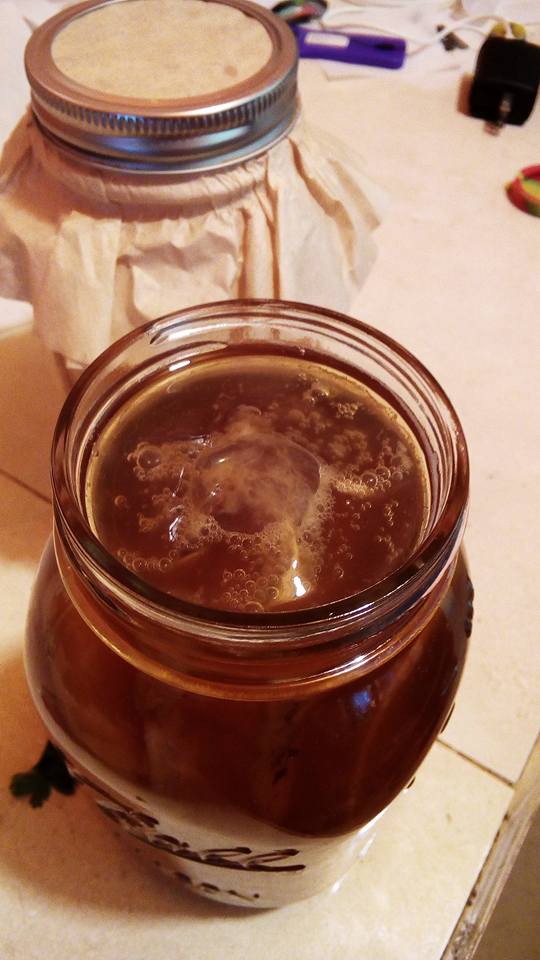
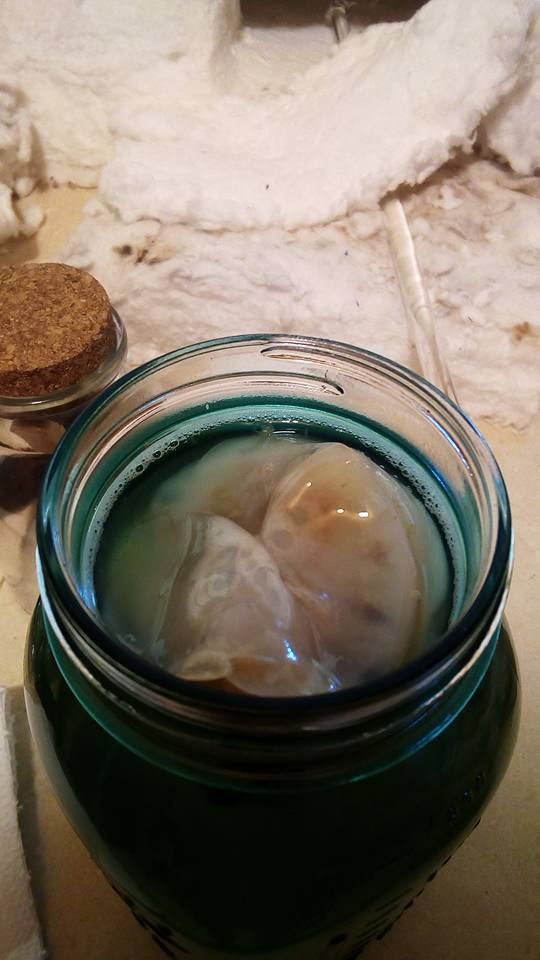
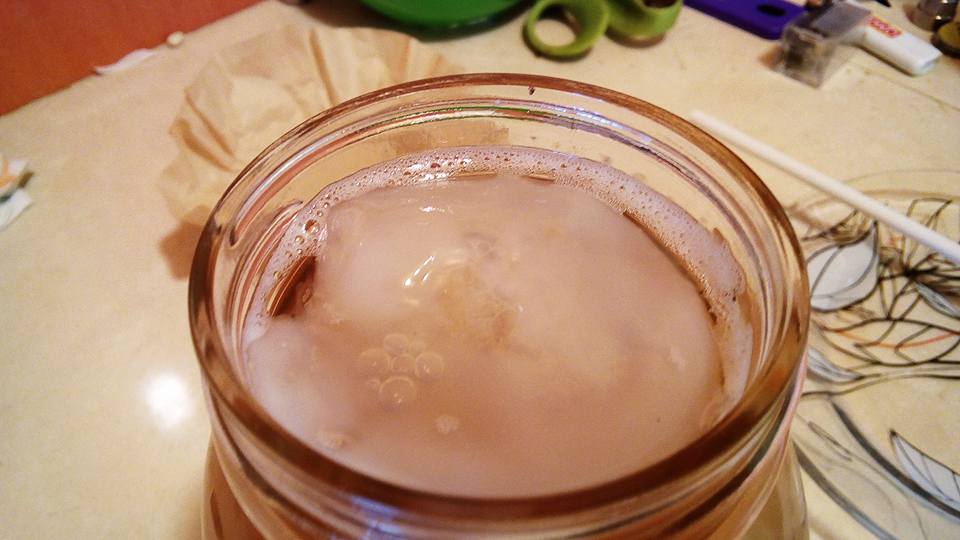
In my smaller jars, the change was much easier to see by day two, where you can obviously see a thin film suspended by large bubbles signifying a baby scoby mat forming. This is where I really started to get excited. Lots of free time was spent perusing anything to be found about kombucha online, learning about everything from problems to flavors.
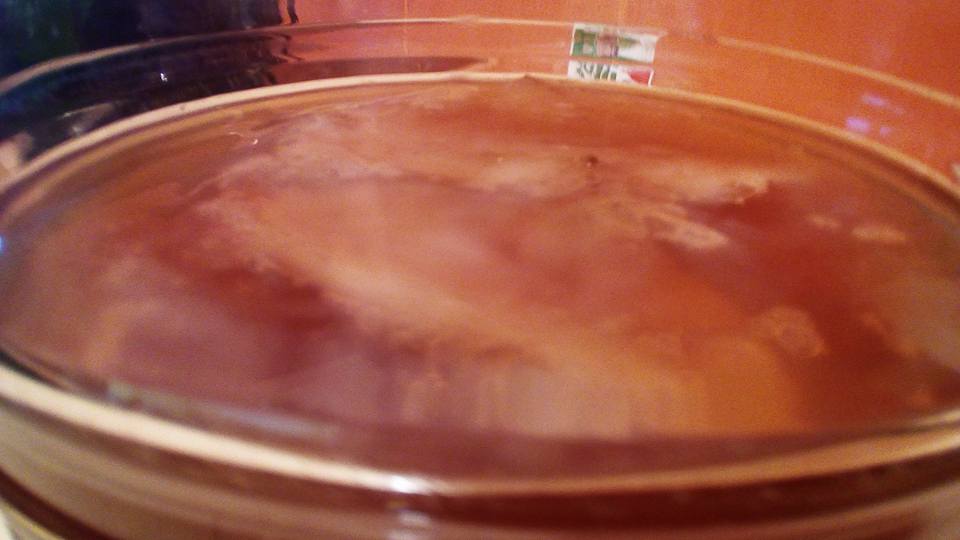
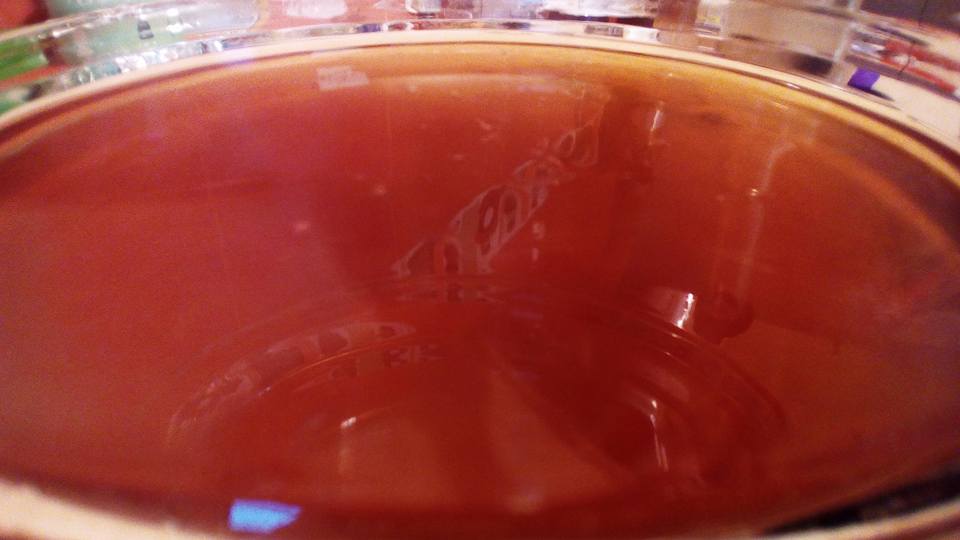
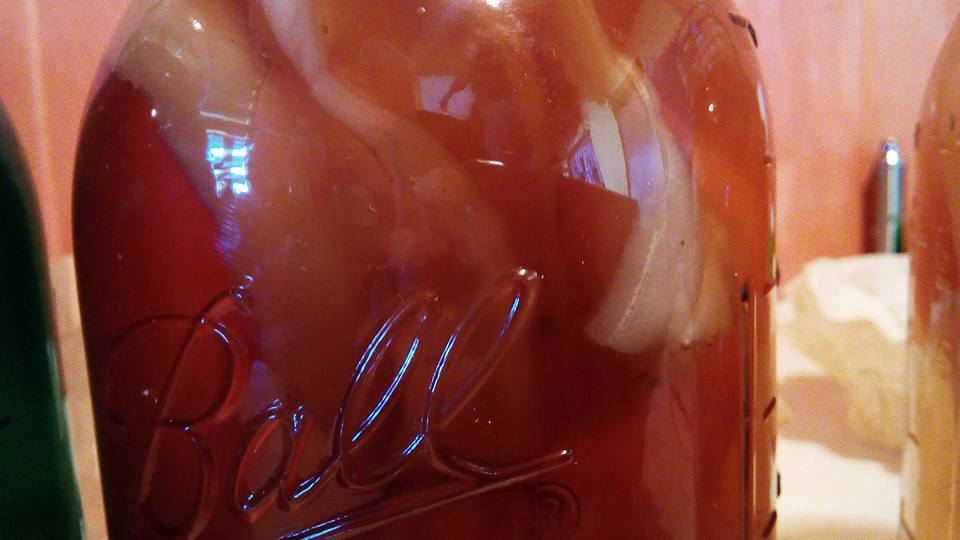
 I removed the filter on the big jar for this shot of the large jar on day 3, where the new scoby became pretty obvious to the naked eye. There was fizzing and dark strands, which my research told me is something people have lovingly nicknamed “yeasty beasty” or just a little visible mass of coagulated yeast cells, from what people say. I’ll admit, I was a bit concerned at first.
I checked them frequently both out of fear and excitement. Apparently, things can go pretty wrong with brewing kombucha if you don’t treat it right. For example, kombucha eels, which are tiny neematodes that invade kombucha and feed on the scoby. They haven’t been proven harmful to human health when consumed, but they are harmful to scoby health. Long term brewers suggest you ditch your brew and start over if you get eels. You’ll notice them if your brew looks like it’s infested with worms.
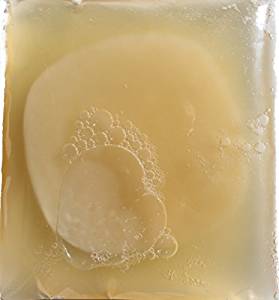
I was also checking for signs of mold. Many would interpret the weird thing on top as mold, but that’s supposed to be forming. What you’re looking for in terms of a mold infestation is white powdery easy to spot mold on top. I’ve not found any. In the event that I do find mold, I’ll have to pitch my old scoby and get a new one before I can start over. Once it moulds, you cannot come back from that.
Keeping bad mold out is a lot simpler than it sounds, realistically. Start with clean containers, brew clean tea with clean water and add clean sweetener. Add the scoby, put a filter on top so it can breathe and keep it in a warm dark place. Too cold you get mold (like cold house in the north during the winter cold). Too little starter, mold (1.5-2 c total scoby and fluid per gallon is what you need). Not enough sugar, mold. Keep those things in check and you’ll have no issues.
That dark squiggle is the beginnings of a yeasty beasty, forming in a small ball jar. This was taken the day I bottled, if I remember correctly. These jars will all be a continuous brew, meaning I’ll just need to add cooled sweet tea to them after emptying them to keep my brew going.
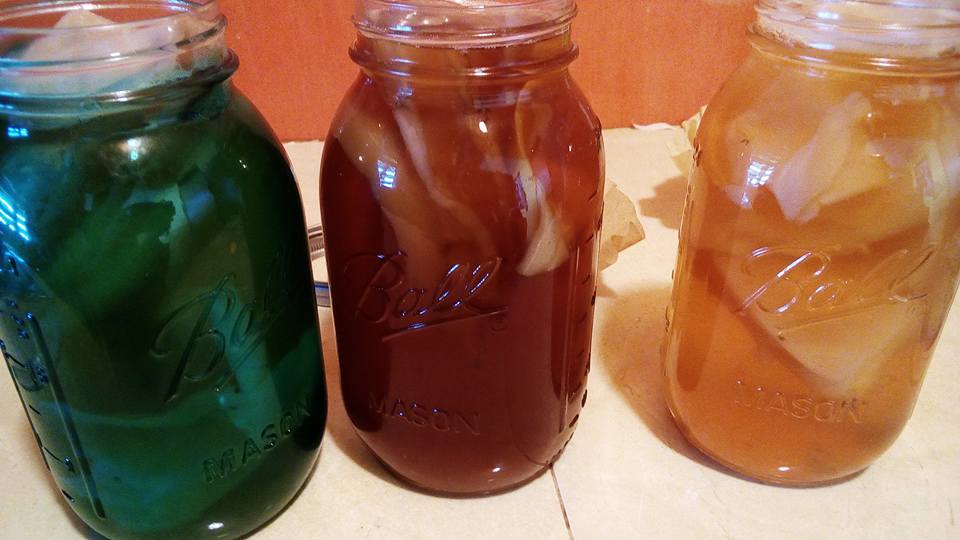
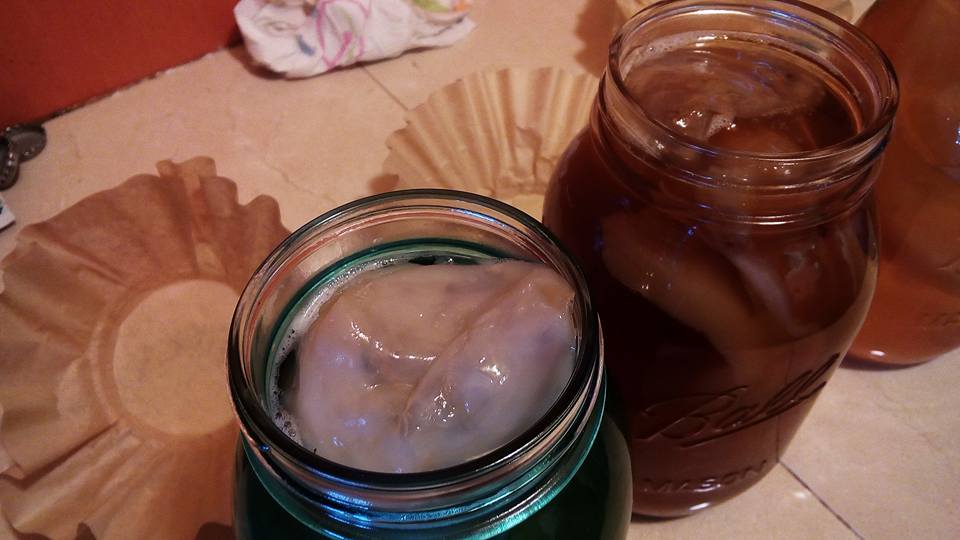
Here are the jars on day 5, which I considered finished. After asking around online I found many people brewing in quart jars do it for 5-8 days, so I had confidence that it was done. I actually tasted it on day four and found it needed more time.
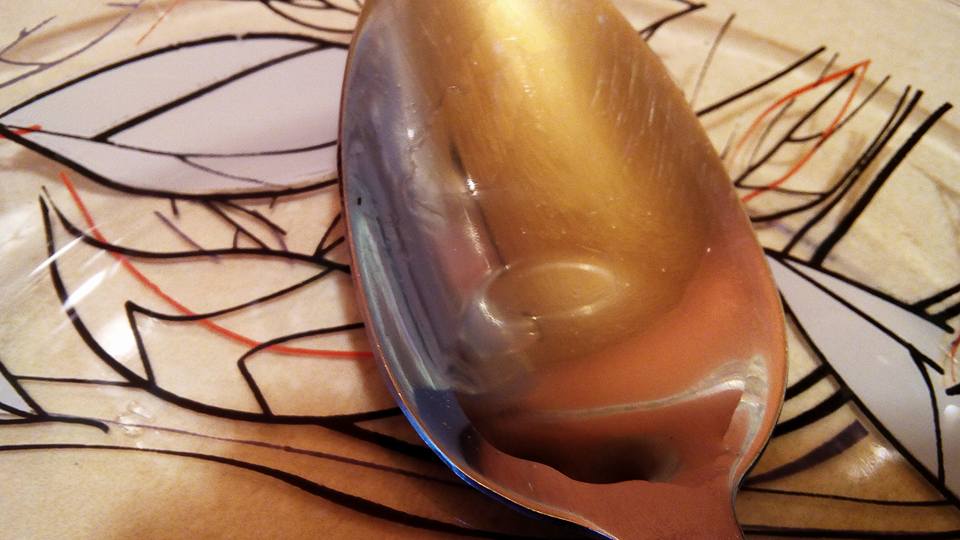
I thought it was a bit silly that I’d “know” even as a new person when it was ready, but I did. It’s down to how much vinegar and fermentation you can deal with at that time, really. Tasting was done with a sterilized, new straw. I just siphoned a bit up, dropped it on a spoon and tasted.
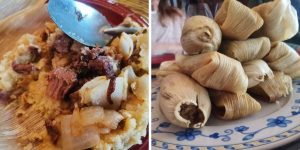
The taste is very interesting, tart at first with the vinegar followed by a light sweet nutty flavor that was unexpected. I’ve only ever tasted flavored kombucha, I didn’t expect it to taste like it did.
I bottled those jars up, or most of them save for scoby and starter on day 5. I left the large brew to keep going as it was pretty clearly not done. The larger the brew the longer it takes is a rule of thumb but it realistically didn’t take that much longer. By 8 days it was showing it was ready. So I bottled most of that up too.
I saved a few tablespoons to experiment with and drank them that day. Due to stress and other factors, my stomach health is not the greatest and I suspect I’m dealing with a slight ulcer. The small amount of kombucha I do drink soothes my acidic stomach which has been enough to get me excited about the possibilities.
 Get 1 X Organic Kombucha Scoby – Live Culture here on Amazon!
Other than that, I can’t say I notice I feel different from the kombucha yet. I’ve only been drinking it consistently for a few days though, hardly a good judge of that sort of thing. I do notice I have a lot of excitement for it, as this is my first adventure into the world of fermented foods.
Next time, I share the flavoring and bottling procedures that finish up the kombucha brew. It can be consumed once it’s finished fermenting, but it’s a lot more fun and flavorful to do a second ferment and spice things up. This is where it goes from slightly fizzy to having more fizz than soda with crazy flavors.

So stay tuned, and keep brewin’!
Click here to check out the 4th part of the 8 part series! By part 8, you will have the knowledge you need to start your own Kombucha brewing project!
If you’re interested in more like this or in following our story on my blog, here’s the link for my Steemit, which is where all of my content currently is.